Well, as predicted, most of the summer was too hot and/or too humid to paint in a workshop lacking climate control, and temperatures too cold for painting will soon be upon us. So, I’m setting up an area in the basement for painting my projects throughout the winter. But with two mischievous little cats, how can I keep my projects safe from curious little paws?
How about a rack that hangs from the ceiling?
Here’s what I’ve come up with.
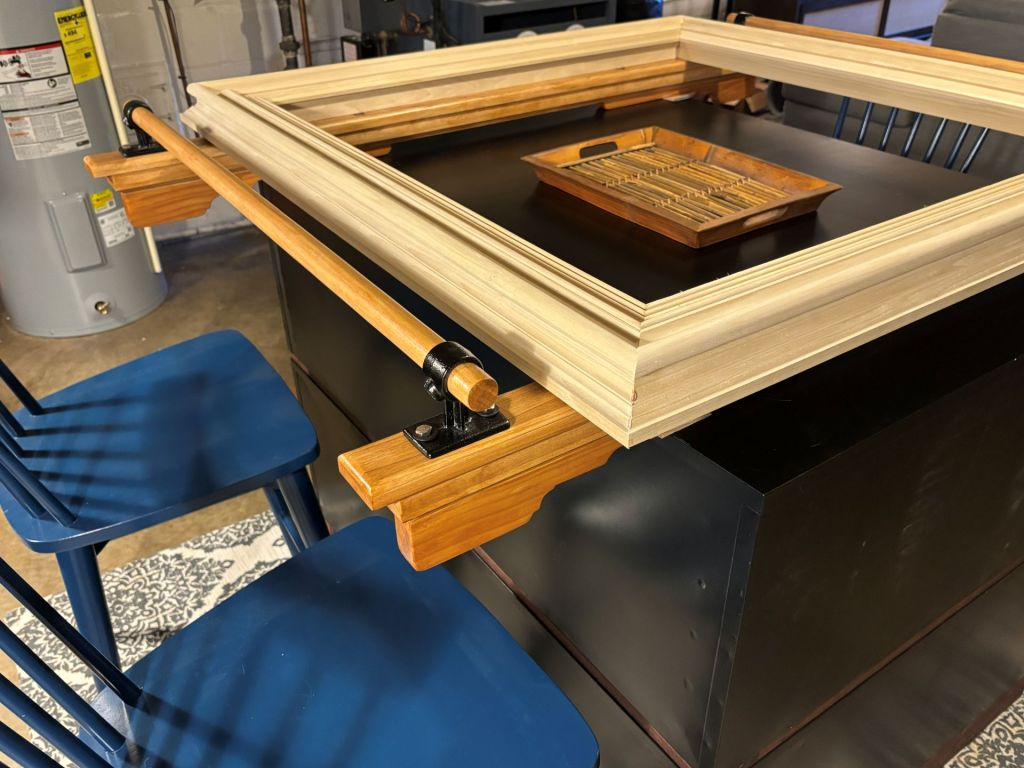
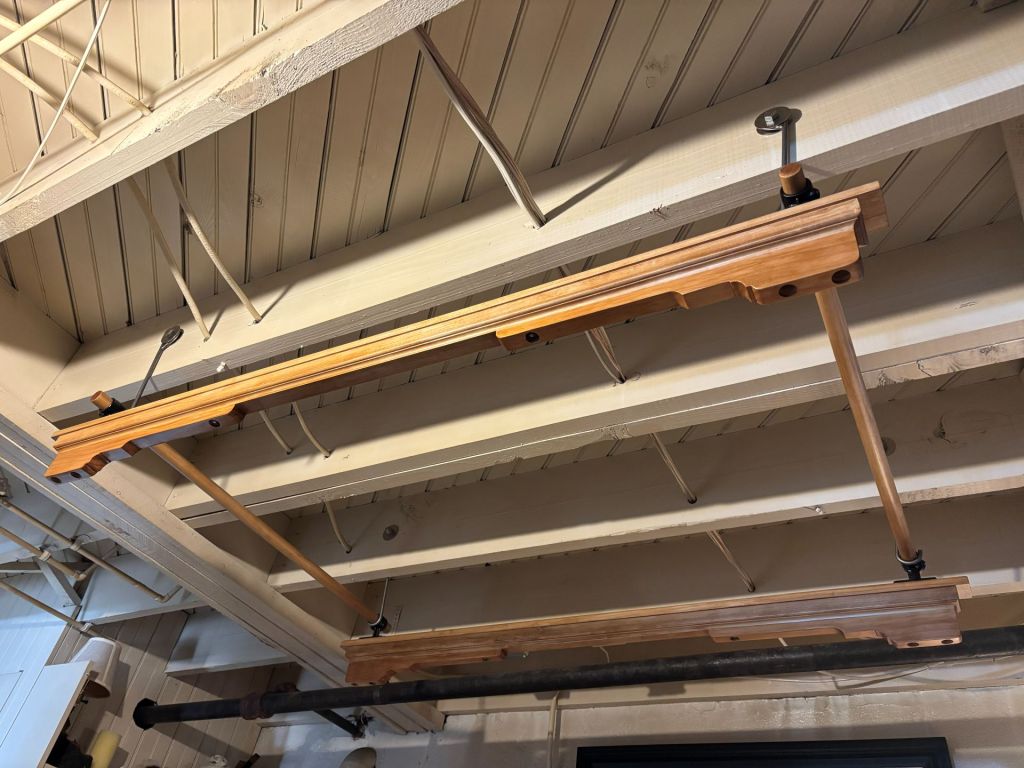
I was inspired by early 20th Century industrial carts that utilized wood and cast iron to create robust transport solutions that were also aesthetically pleasing.
The rails upon which my projects will rest are created from poplar. To create these rails, I glued two 3/4″ poplar boards together and then cut, jointed, and planed them to the final dimensions. I then routed out a 1″ wide and 1″ deep channel running nearly the full of each rail. Within this channel, I placed a square aluminum tube. This acts like a spine to prevent the rails from sagging.
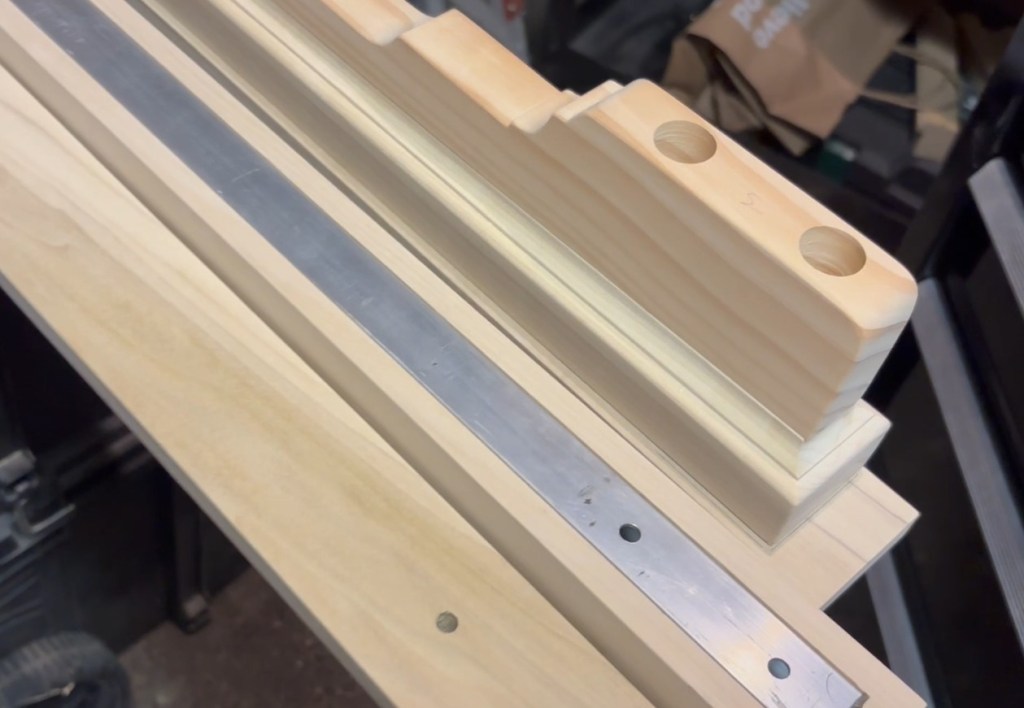
After routing the inner channels, I routed the bottom, outer edge of the rails to create a smooth transition to the feet of the rack.
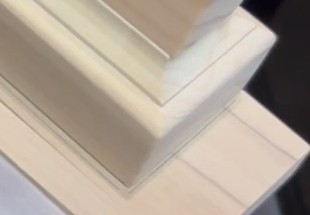
I cut the feet from scrap radiata pine using a bandsaw.
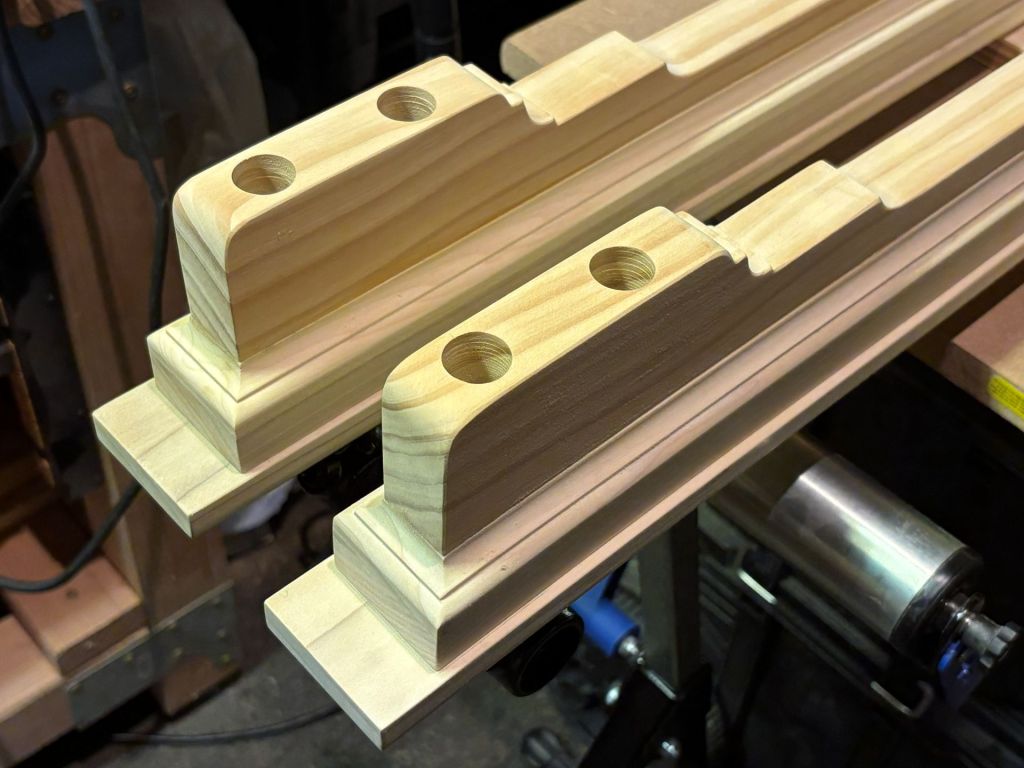
The feet provide several advantages, First, they are designed such that I can rest the rack on my work table or on the floor. Second, they enable me to recess the nuts that hold the rack together so that they don’t scratch my work table. Third, glued to the lower portion of the rail, they provide additional strength and rigidity. Fourth, I believe they improve the aesthetics of the rack.
The tops of the rails are made from 3/4″ poplar. I used a round over bit to remove harsh edges that could leave small dents in items resting upon the rack.
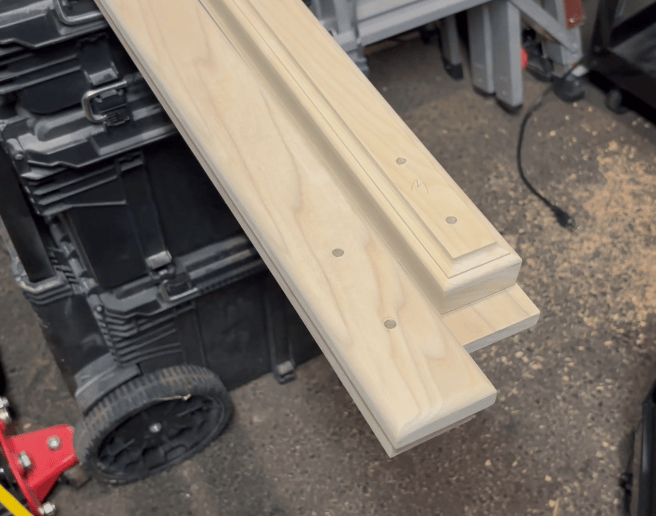
With all the parts cut and routed, I sanded everything down with 120 and then 220 grit sandpaper and applied Minwax PolyShades (stain and polyurethane). The PolyShades finish is not as good as a finish created by applying stain and polyurethan separately, but for this project, it’s quick, easy, and more than sufficient.
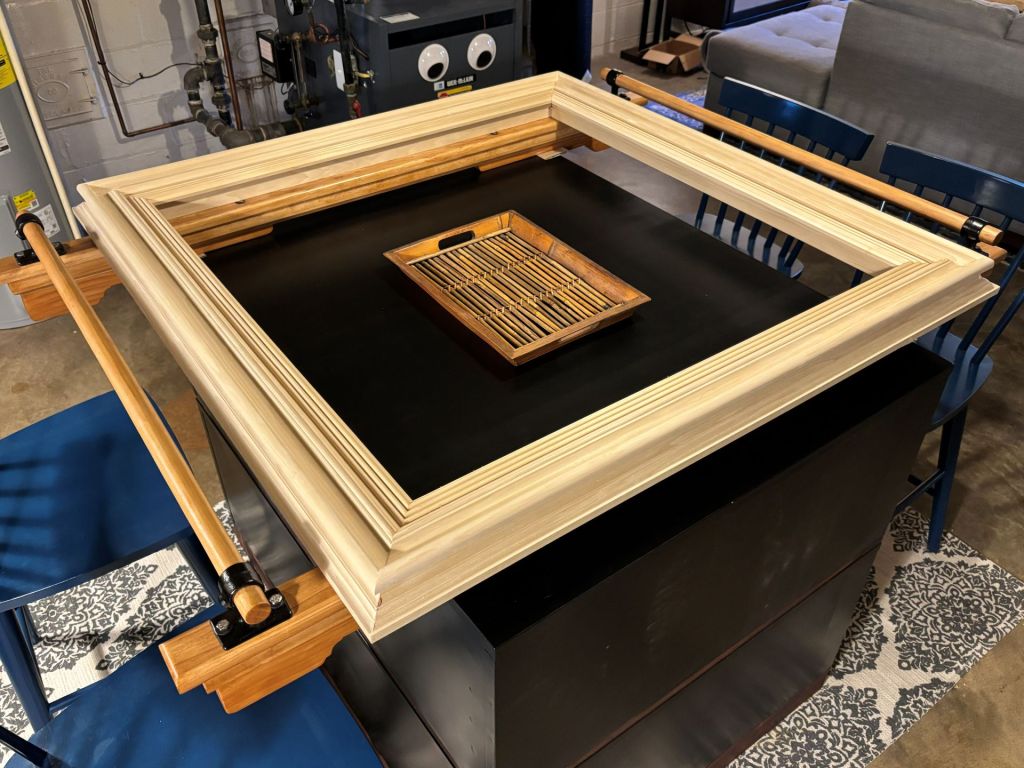
I joined the parts of the rack rails using black SteelTek structural rail supports and 5/16″ bolts.
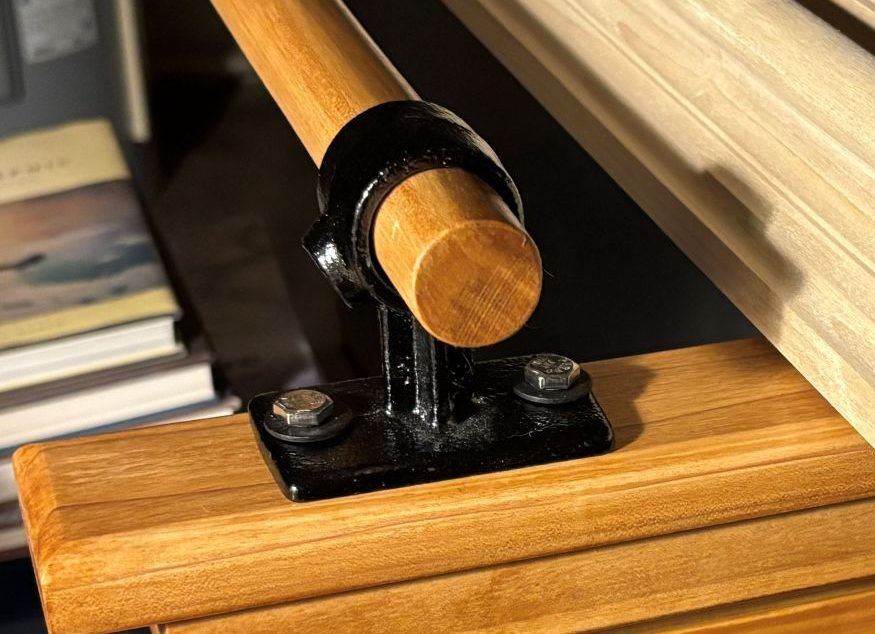
I originally intended to use metal pipe to connect the rail supports, but switched to wood dowels to reduce the overall weight of the rack. The use of these rail supports enables the rails to slide inward and outward to accommodate projects of different sizes.
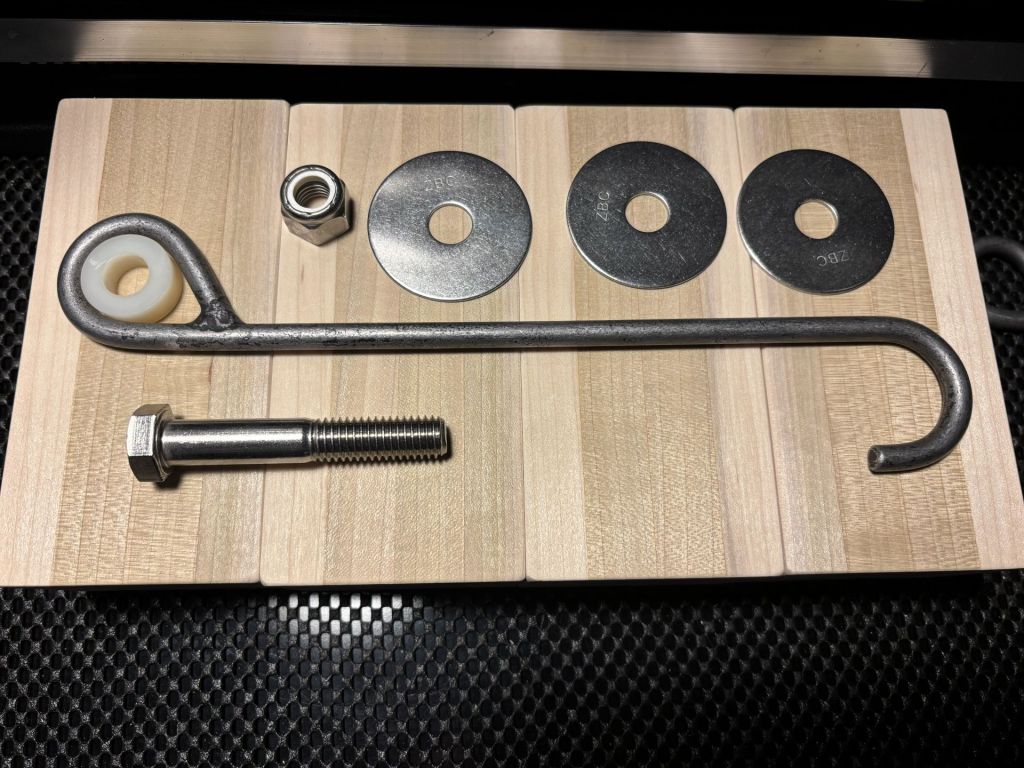
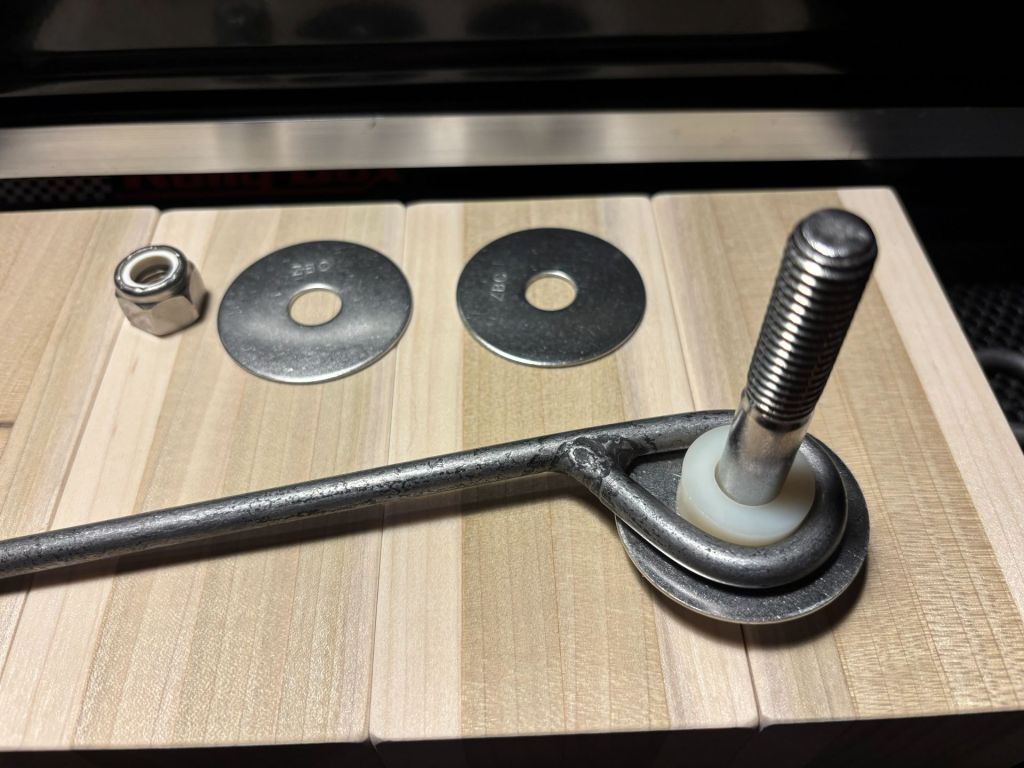
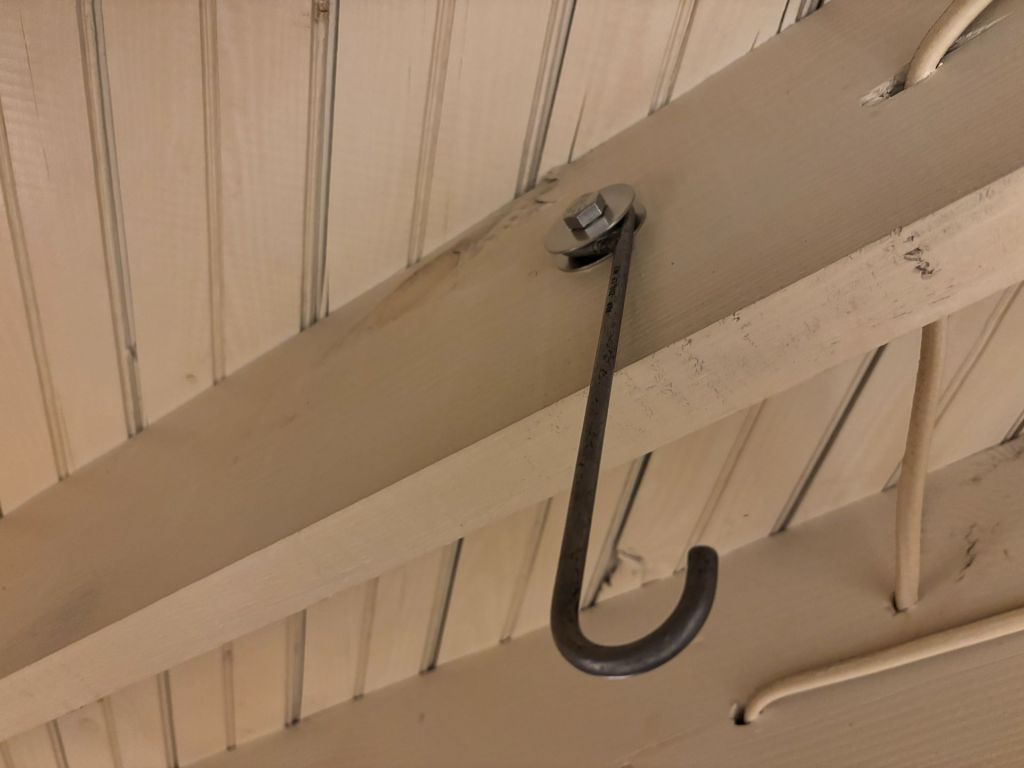
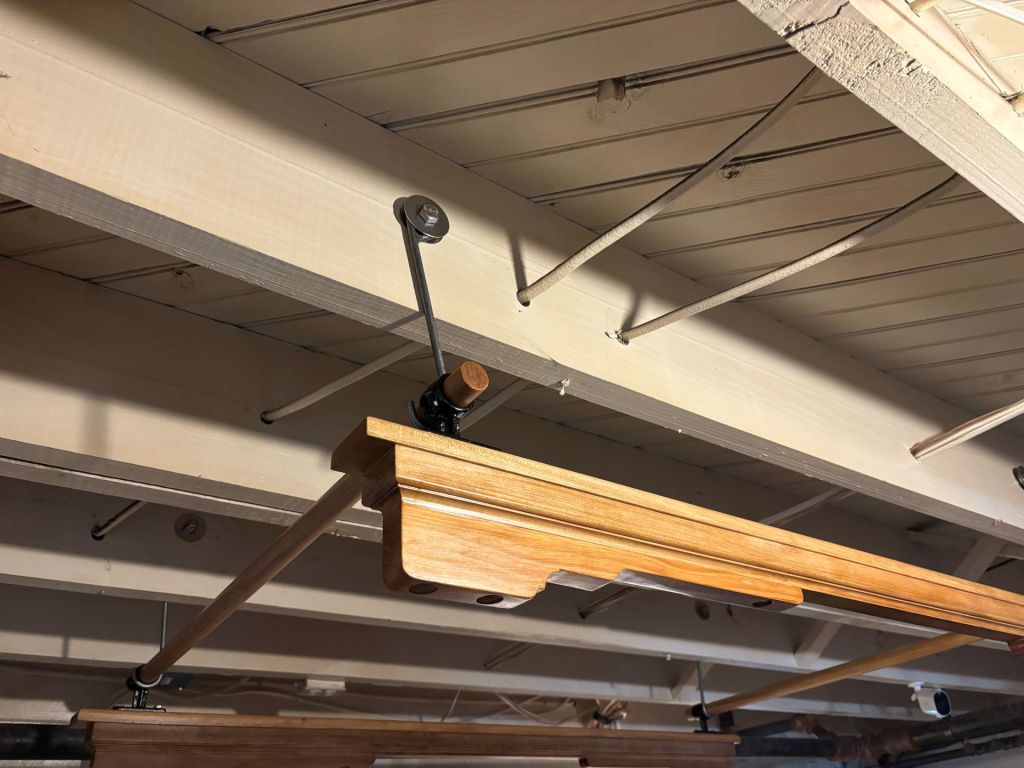
To hang the rack from the floor joists, I wanted to use hooks that could pivot forward and backward. This enables me to secure one end of the rack into the hooks on one side and then swing the rack over to the opposing pair of hooks. I had a hard time finding the right hooks for this project. So much of what I found online was cheap Chinese junk. I eventually found J Hooks used for towing applications, but these were too big. Ultimately, I stumbled upon 5/16″ lifting hooks made by Machining & Welding rated for 250 lbs.
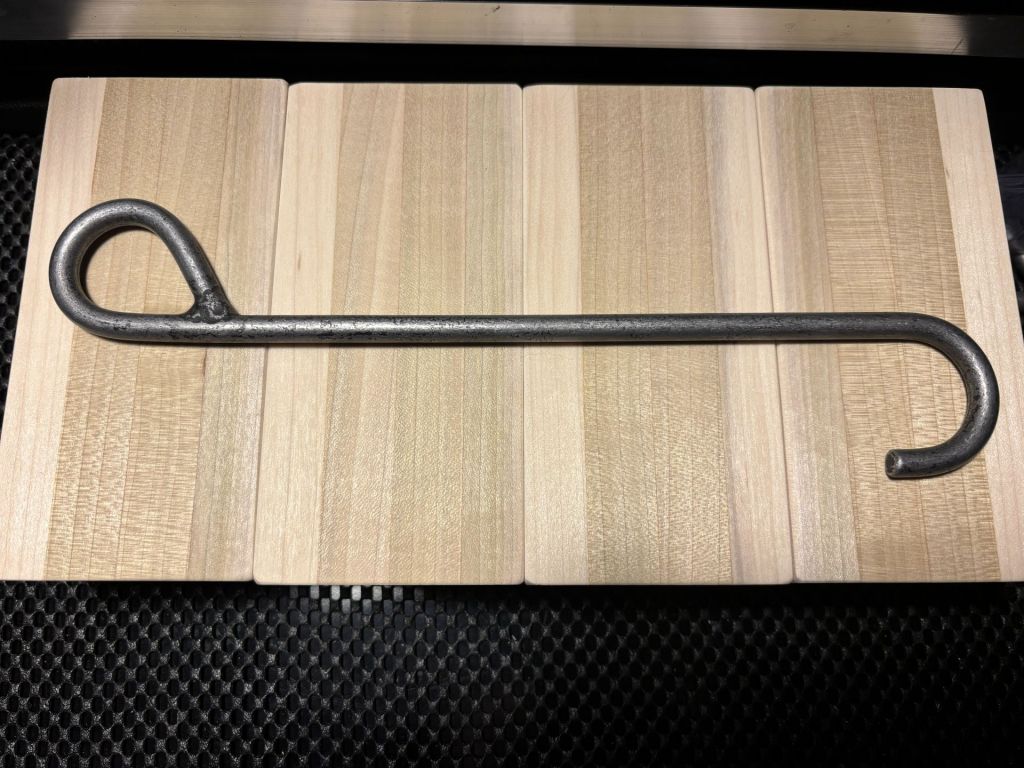
The opening of the hook is about 1/4″ larger than the diameter of the dowels, providing a secure fit. To secure the hooks to the floor joists in a way that enables them to swing freely, I purchased nylon bushings that are slightly thicker than the 5/16″ hooks. These bushings have an outer diameter slightly smaller than the eye of the hook and an inner diameter of 3/8″, which is the bolt size I wanted to run through the joists. I used washers to secure the hooks within each assembly, offset the hooks from the joists, and provide a low friction surface for the hooks to swing against.
Here’s the completed rack supporting one of my in-progress art frames.
And here’s the rack suspended from the ceiling.
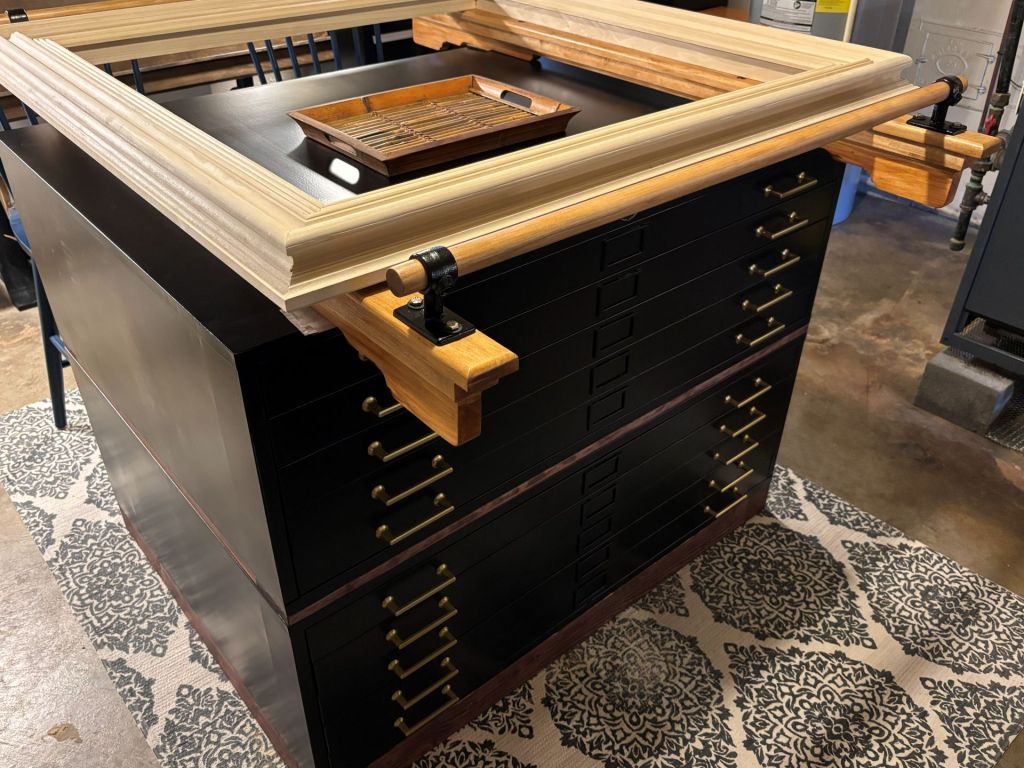
Up next, I’ll discuss how I rehabbed the vintage Cole Steel flat file map cabinet depicted below.
Thanks for reading!

